

How to Create a Professional Photo Collage with AI Using Your Own Photo
how to create a professional photo collage with AI using your own photo. This beginner-friendly guide covers the five-step process, a formula for writing prompts, two copy-paste prompt examples, layout and aspect ratio tables, and tips to keep your face accurate in the final image.
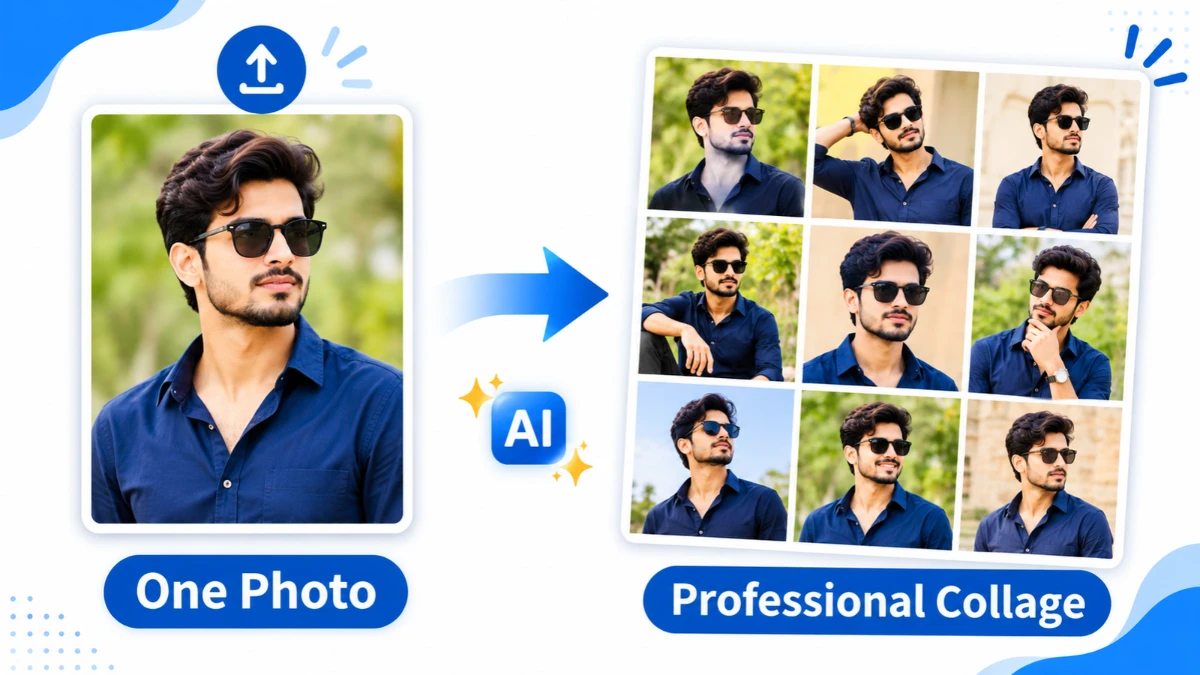
What Is an AI Photo Collage ?
An AI photo collage is one image where an AI tool arranges photos, backgrounds and decorative elements into a layout based on your text prompt. You describe the look, and the tool builds it.
There are two common ways to do it:
- Multi-photo collage: you upload several photos and the AI arranges them into one layout.
- Single-photo collage: you upload one photo and the AI builds a collage around you, showing you in different poses, scenes or styles.
This guide focuses on the single-photo method, but the same steps work if you upload more than one photo.
What You Need Before You Start
You don’t need much. Here’s the short list:
- One clear photo of yourself, with your face fully visible
- A good-quality image file, not a screenshot or a heavily compressed forwarded copy
- An AI image tool that lets you upload a photo
- A goal in mind, such as an Instagram post, a birthday gift or a profile highlight
- About five minutes
How to Create a Photo Collage with AI Using Your Own Photo (5 Steps)
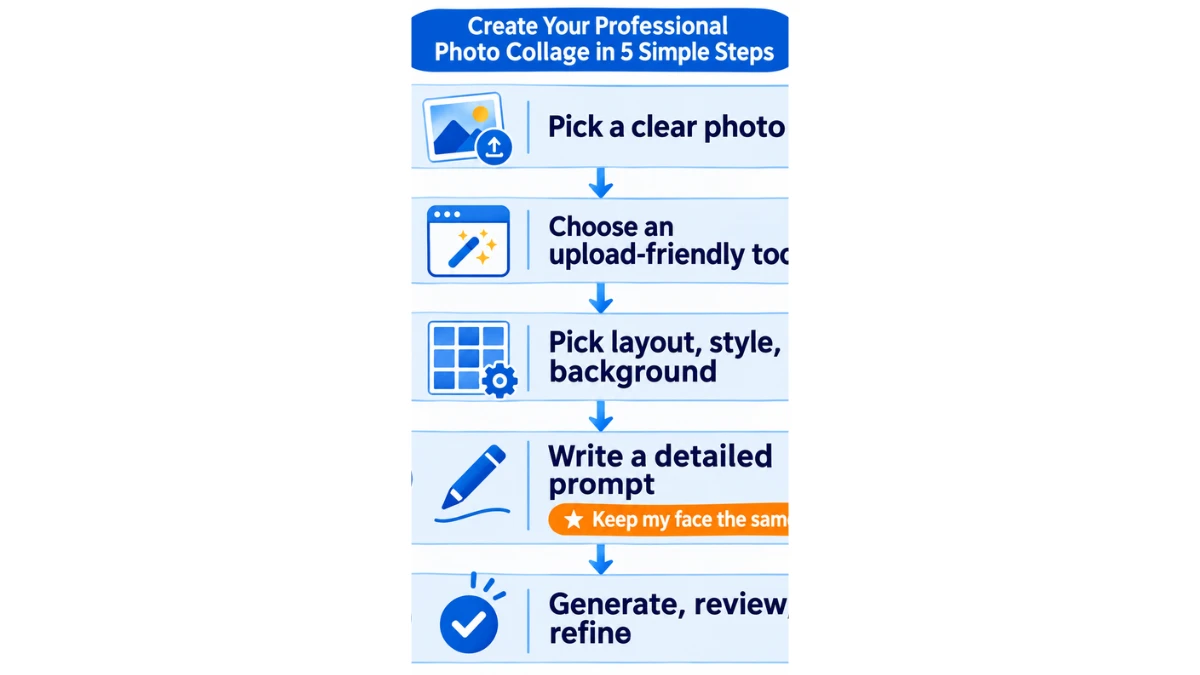
Step 1: Pick the Right Photo
Your photo is the foundation. The AI copies what it sees, so a weak photo gives a weak collage.
Choose a photo where:
- Your face is front-facing or only slightly turned
- The light is even (daylight near a window works well)
- The image is sharp, not blurry
- Nothing covers your face, such as sunglasses or a cap
- No heavy filter has already changed your skin or colors
Step 2: Choose an AI Tool That Accepts Photo Uploads
Look for a tool that lets you upload an image and describe what you want. For example, Google’s help page says you can upload an image in Gemini and ask for edits, or upload multiple images and ask for a new image based on them. Microsoft’s guide to photo collages shows another route: you open Microsoft Designer and type a prompt that explains as many specifics about the collage as possible.
Before you pick a tool, check three things:
- Does it accept your photo as an upload?
- Can you re-prompt and refine the result?
- What are its free limits, privacy terms and age rules? Google notes that image editing in Gemini Apps isn’t available to users under 18.
Step 3: Decide Layout, Style and Background
Decide the look before you write a single word of the prompt. Pick one layout (see the table below), one style such as modern editorial, vintage film, minimal or scrapbook, and a simple background such as paper texture or a soft gradient.
Limit yourself to two or three colors. Too many choices make the result look busy.
Step 4: Write a Detailed Prompt
A strong prompt covers six things:
- Subject: “using the uploaded photo of me”
- Layout: grid, polaroids, one large frame with small ones around it
- Style: clean editorial, vintage film, scrapbook
- Background and colors: cream paper texture, warm neutrals with one blue accent
- Keep-face instruction: “Keep my face, skin tone and hairstyle exactly the same as the uploaded photo”
- Exclusions and format: “No text, no watermark,” plus the aspect ratio
Ask for no text inside the image. AI tools often misspell words in images, so it’s easier to add captions later in any free editor.
Step 5: Generate, Review and Refine
Generate the collage and check it before you save it. Zoom in on every frame.
- Does the face match your original photo?
- Do the hands, edges and overlapping frames look natural?
- Is there any strange or garbled text?
Then change one thing at a time. A short follow-up like “Keep everything the same, but make the background light grey” works better than rewriting the whole prompt. If your face drifts, regenerate with a stronger keep-face line and fewer frames.
Two Copy Paste Prompt Examples
Here are two prompts for different situations. Replace the details in brackets with your own.
Example 1: Professional Personal-Brand Collage
Create a professional photo collage using the uploaded photo of me. Layout: a 3x3 grid of 9 frames with thin white borders, showing me in different poses and outfits. Style: clean, modern, editorial look. Background: soft cream paper texture. Colors: warm neutral tones with one navy accent. Keep my face, skin tone and hairstyle exactly the same as the uploaded photo. No text, no watermark. Aspect ratio 4:5.
Example 2: Travel Memories Collage
Create a travel memories collage using the uploaded photo of me. Layout: one large central photo of me with six smaller overlapping polaroid-style frames around it, showing me at a beach, a mountain viewpoint and an old city street. Style: warm vintage film look with slight grain. Background: kraft paper with tape and simple doodles, no readable text. Keep my face, skin tone and hairstyle exactly the same as the uploaded photo. Aspect ratio 1:1.
The first prompt gives a polished, business-friendly look. The second gives a casual, memory-book feel. The structure is the same: subject, layout, style, background, keep-face line, format.
Photo Collage Layouts Compared
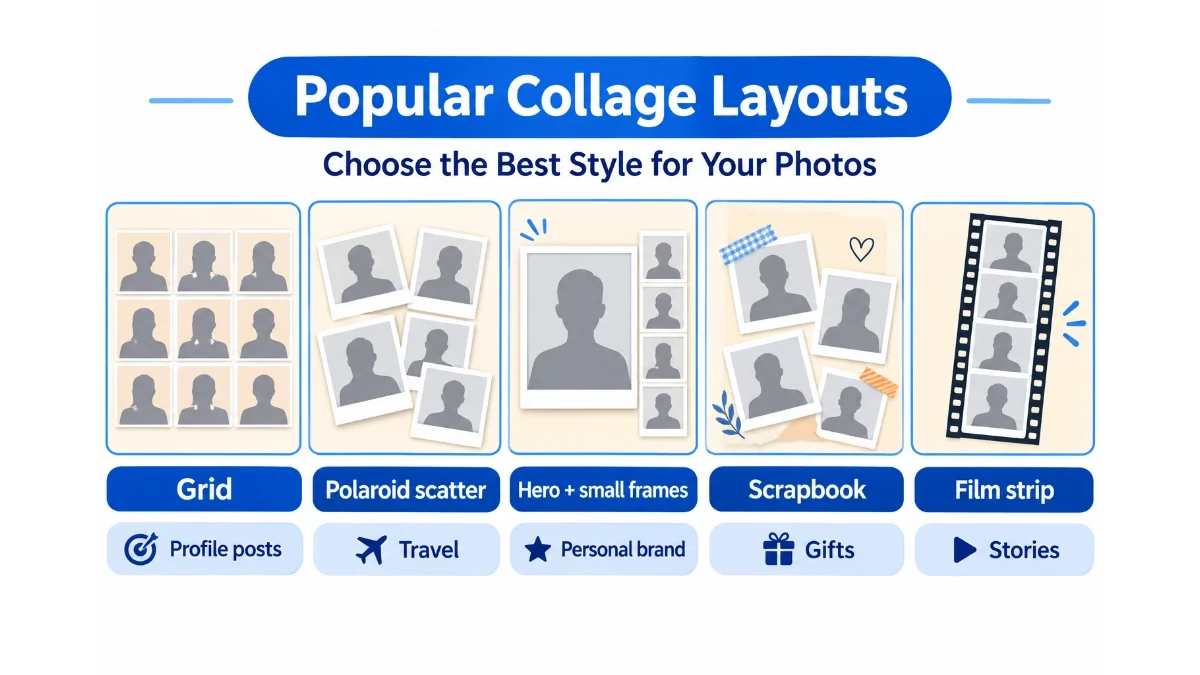
Different layouts suit different goals. Use the words in the last column inside your prompt.
| Layout | Best for | Prompt words to use |
|---|---|---|
| Grid (2×2 or 3×3) | Profile highlights, Instagram posts | “clean grid with thin white borders” |
| Polaroid scatter | Travel, birthdays, memories | “overlapping polaroid frames with slight rotation” |
| Hero plus small frames | Personal branding, announcements | “one large central photo with smaller frames around it” |
| Scrapbook | Gifts, keepsakes | “scrapbook with paper texture, tape and stickers” |
| Film strip | Storytelling, before and after | “vertical film strip with 4 frames” |
Best Size and Aspect Ratio for Your Collage
Choose the ratio before you generate. It’s easier than cropping later.
| Aspect ratio | Best for |
|---|---|
| 1:1 | Instagram feed posts |
| 4:5 | Portrait feed posts |
| 9:16 | Stories, Reels, phone wallpapers |
| 16:9 | YouTube thumbnails, desktop wallpapers |
| 3:2 | 4×6 inch prints |
How to Keep Your Face Accurate in an AI Collage
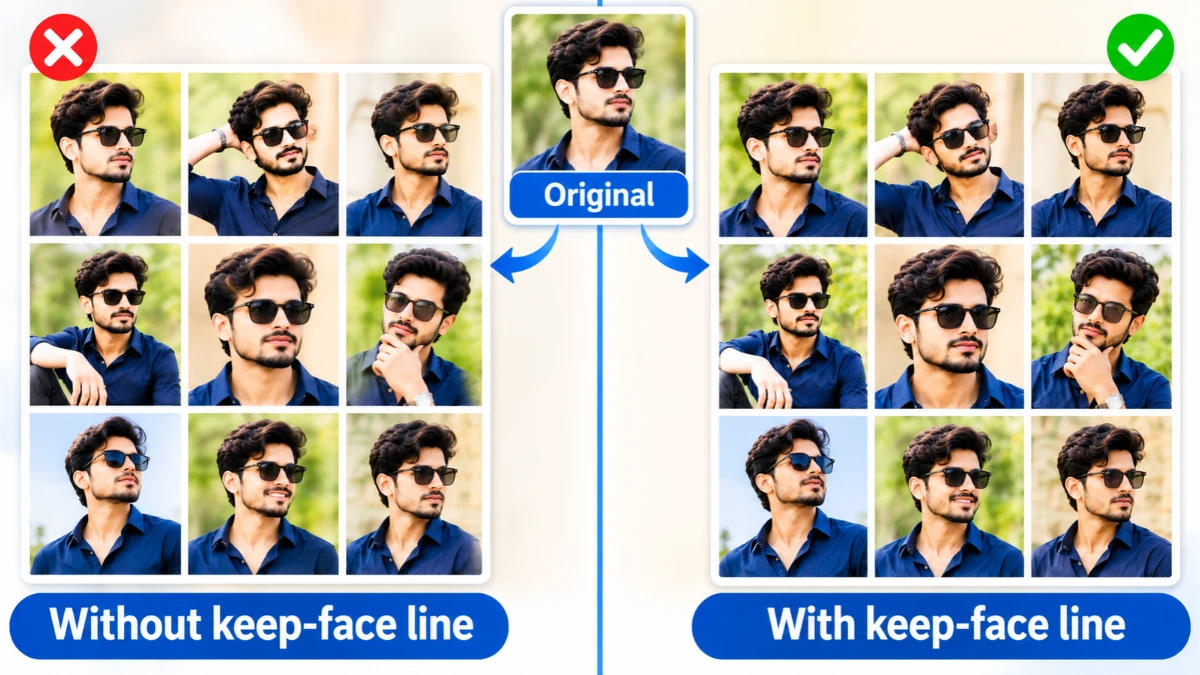
This is where most beginners go wrong. If you don’t tell the AI to protect your face, it may smooth your skin, reshape your features or “improve” your look. The result is a nice collage of someone who isn’t quite you.
Here’s how to avoid it:
- Add a keep face line. Use a sentence like “Keep my face, skin tone and hairstyle exactly the same as the uploaded photo” in every prompt.
- Use a sharp, front-facing photo. The AI can only match what it can clearly see.
- Use fewer, larger frames. Faces in tiny frames are the most likely to drift.
- Compare every frame with your original. Zoom in on the eyes, nose and jawline.
- Change one thing at a time. Rewriting the whole prompt can change your face again.
- Upload more than one photo if the tool allows it. Different angles give the AI more to work from.
5 Common Mistakes to Avoid
1. Writing a Vague Prompt
“Make a collage of me” gives the AI no direction. Describe layout, style, background and colors every time.
2. Using a Low-Quality Photo
Blurry, dark or heavily filtered photos produce weak results. Start with the best photo you have.
3. Adding Too Many Elements
Ten frames, five effects and three color themes make the collage look cluttered. Keep it to one layout, one style and two or three colors.
4. Forgetting to Protect Your Face
This is the mistake that changes your face. Without a keep-face line, the AI decides how you should look. Add the instruction every time.
5. Accepting the First Result
Check every frame before you save or share. Look for odd hands, uneven edges and garbled text, then refine with one small change at a time.
Privacy and Safe Use Tips
Your photo is personal data, so treat it that way.
- Upload only photos you own or have permission to use, especially when other people appear in them.
- Avoid uploading private or sensitive images.
- Read the tool’s privacy policy and terms before you upload.
- Check age rules. Some tools restrict image editing for users under 18.
- Label the finished image as AI-made when you post it, so viewers know how it was created.
Conclusion
A photo collage with AI doesn’t need design skills. It needs a clear photo, a detailed prompt and a quick review. Pick your layout and style first, write the six-part prompt, and always add a line that tells the AI to keep your face unchanged.
Start with Example 1 if you want a polished look, or Example 2 for a travel-memory feel. Then change one detail at a time until the collage matches what you pictured. Once you’ve made your first professional photo collage with AI, the second one takes about two minutes.
Frequently Asked Questions

As a passionate creator and AI enthusiast, I specialize in crafting high-fidelity generative prompts and visual storytelling. Dedicated to exploring the frontier of synthetic media and prompt design.
Comments (0)